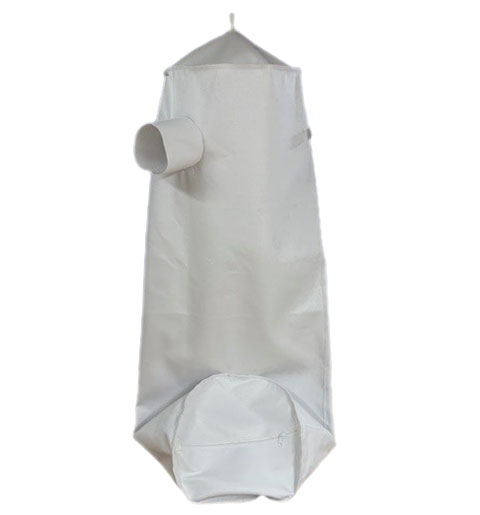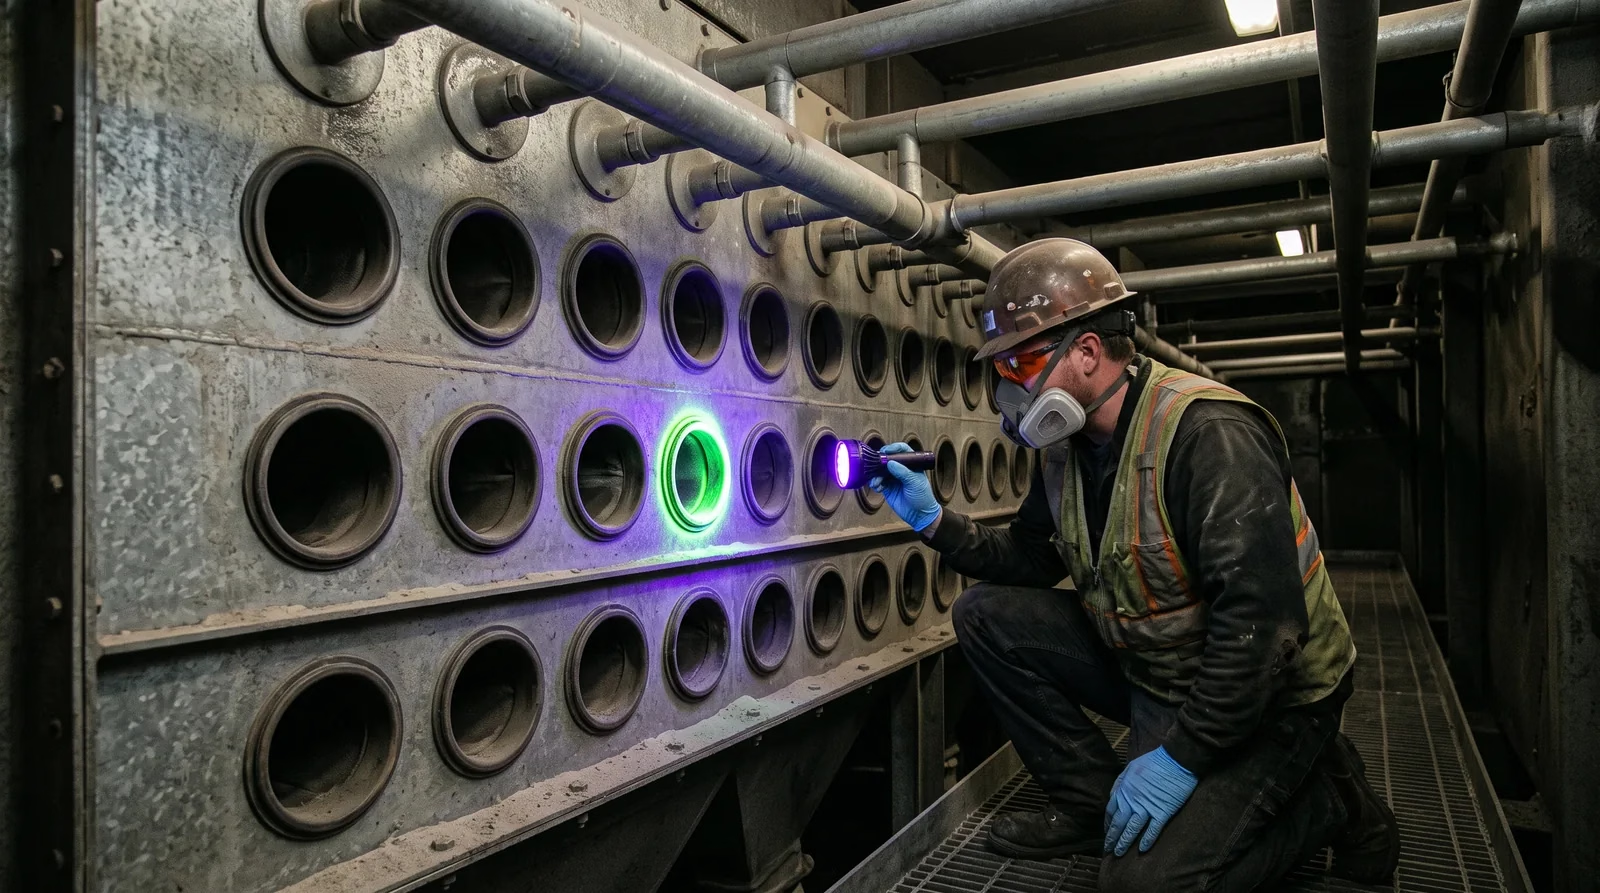
A baghouse leak test tells you exactly which filter bag, seam, or seal is letting dust through, so you can repair the problem without replacing every bag in the collector. The most reliable way to find a leak is a fluorescent powder test: inject a tracer powder on the dirty-air side, then inspect the clean-air side with a UV light. This guide covers when to test, what equipment you need, a step-by-step procedure, and how to read what you find.
Signs Your Baghouse or Dust Collector Has a Leak
Filter bags rarely fail all at once. Watch for these early warning signs:
- Visible dust or a plume at the stack or exhaust outlet
- Rising opacity readings or particulate monitor alarms
- Dust buildup on the clean-air side, tubesheet, or blowpipes
- A sudden drop in differential pressure, which can mean air is bypassing the media through a hole
- Dust in the compressed-air system or on downstream equipment
- Failed bags found at the last change-out with no clear cause
If you see any of these, run a leak test before the problem spreads. A single torn bag can let abrasive dust blast neighboring bags and damage the fan.
What You Need for a Fluorescent Leak Test
- Fluorescent leak detection powder in a color that contrasts with your process dust
- A high-intensity UV lamp and UV-enhancing glasses, such as the Leak Locator Light Kit
- An access port on the inlet duct upstream of the collector
- Lockout/tagout devices and confined-space entry equipment as required by your site
- PPE such as a respirator, gloves, and eye protection
- A marker or tags to label failed bags, and a tubesheet map to record locations
How to Perform a Baghouse Leak Test, Step by Step
1. Prepare the collector
Review the powder SDS and your facility’s safety procedures. If you are retesting, pick a powder color different from the last test so old residue does not confuse the results. If you have a tubesheet map, have it ready to record which rows and positions show leaks.
2. Turn off the cleaning system and keep the fan running
Turn off pulse-jet, reverse-air, or shaker cleaning so the powder loads onto the bags instead of being knocked into the hopper. Keep the system fan running at normal airflow so the powder travels the same path your process dust does.
3. Inject the powder upstream
Introduce the powder into the inlet duct through an access port, far enough upstream that the airflow spreads it evenly across every compartment. Add it steadily rather than in one dump so it loads all of the bags.
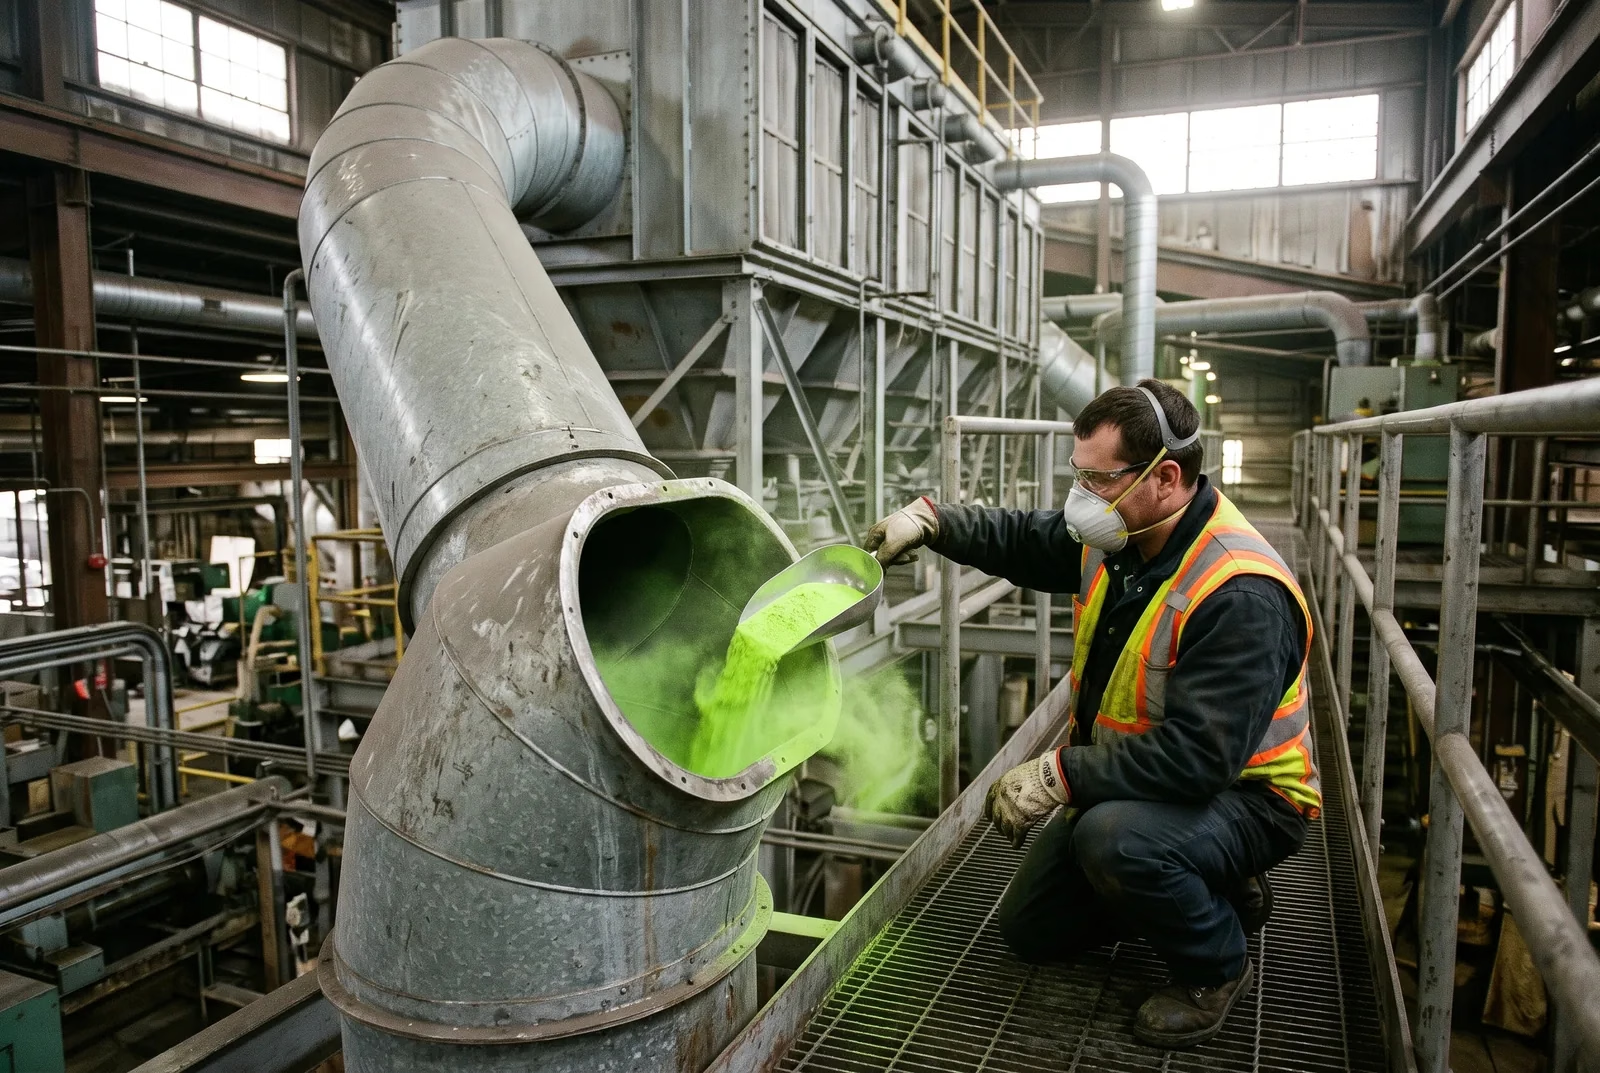
4. Let it circulate
Run the system for several minutes so the powder coats the dirty side of every bag or cartridge. Any powder that gets through a failed bag, seam, or seal will carry over to the clean-air side.
5. Shut down, lock out, and inspect the clean side
Shut down the collector, lock it out, and follow confined-space procedures before you enter. Darken the clean-air plenum as much as you can, then scan it with the UV lamp while wearing the enhancing glasses. Work methodically, row by row, and check bag tops, snap bands, cell plate holes, cartridge gaskets, welds, and door seals.
6. Mark, repair, and retest
Tag each leaking bag or seal and record its location. Replace failed bags, reseat or replace loose snap bands, and reseal gaskets or welds. Then run a short follow-up test with a different powder color. If you find new-color powder, a leak remains. Old-color residue is left over from the first test.
Reading the Results: Where the Powder Shows Up
Where the glowing powder appears tells you what kind of failure you are dealing with.
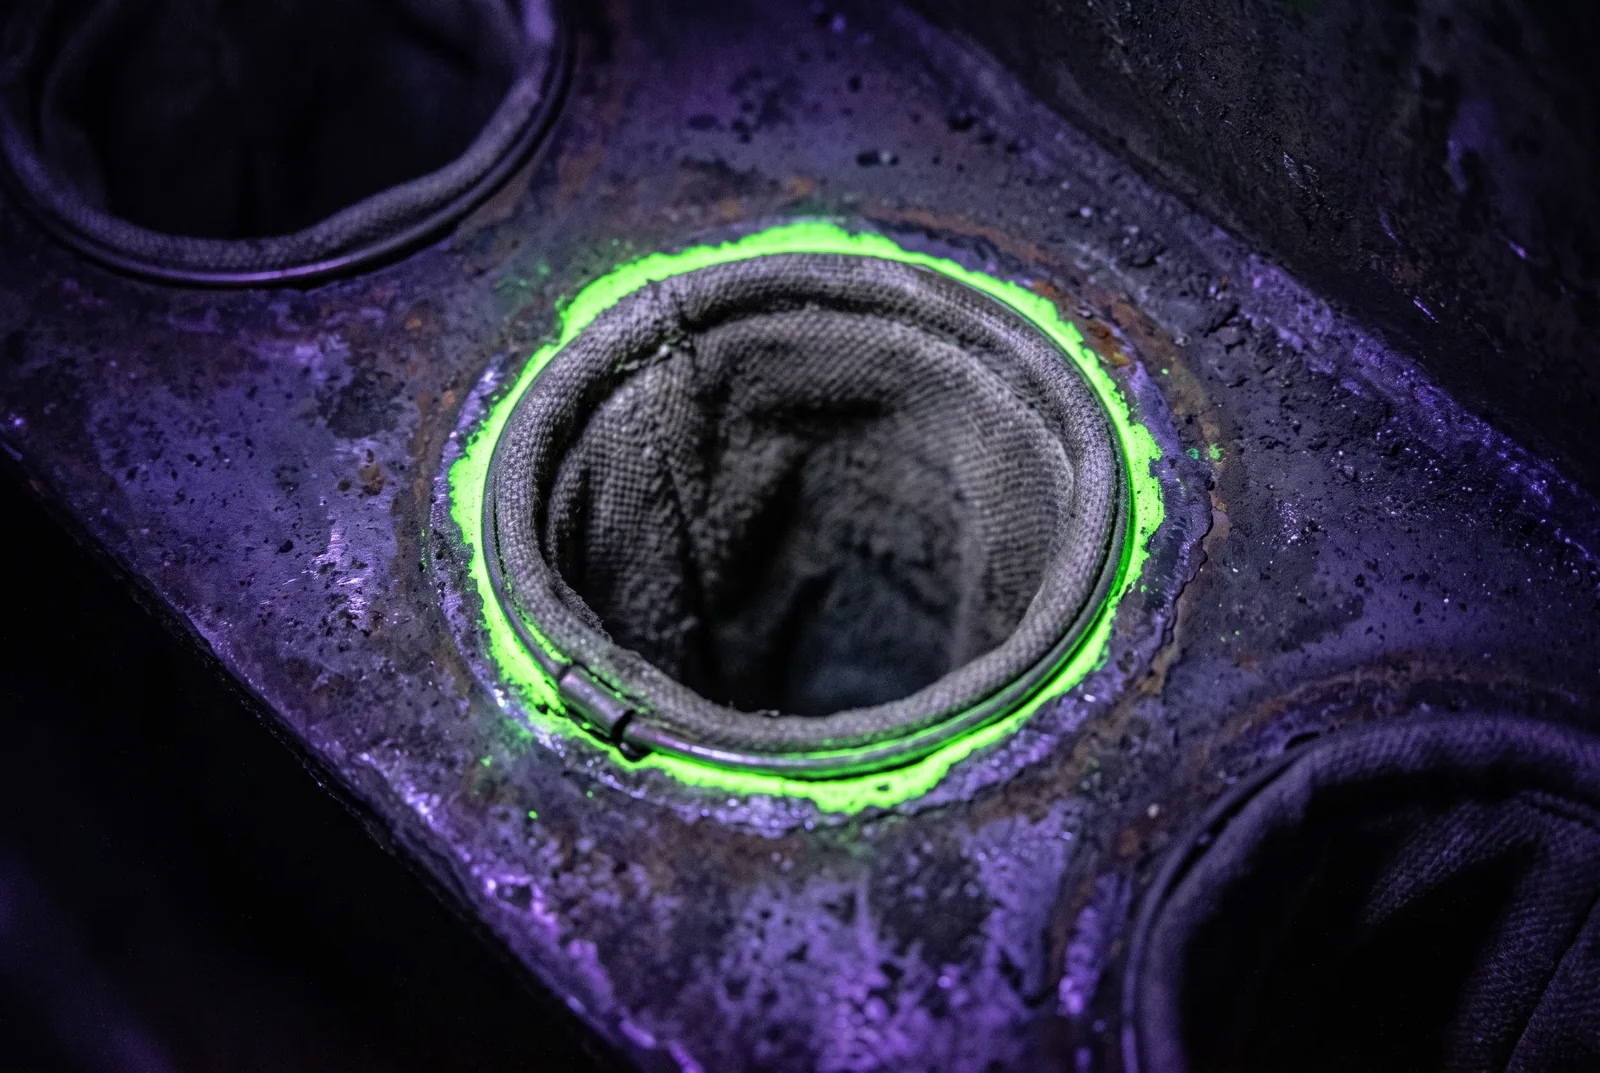
| Where You See Powder | Likely Cause | Typical Fix |
|---|---|---|
| Inside one bag opening or on its rim | Hole, tear, or worn spot in that bag | Replace the bag and check its cage for burrs or corrosion |
| Ring around a bag top or snap band | Poor seal between the bag and the cell plate | Reseat or replace the bag and confirm the snap band fits the hole |
| Along tubesheet seams or welds | Cracked weld or structural gap | Repair the weld or seal the seam |
| Around doors or access hatches | Worn or compressed door gasket | Replace the gasket and check the latch adjustment |
| Spread across many bags in one area | Inlet abrasion, worn media, or bags at end of life | Inspect the inlet baffle and plan a full change-out for that zone |
Leak Testing Pulse-Jet, Reverse-Air, and Cartridge Collectors
Pulse-jet baghouses: Inspect from the clean-air plenum above the tubesheet. Check each bag top and snap band, and look at the blowpipes for powder blown back through a failed bag.
Reverse-air and shaker baghouses: These bags usually collect dust on the inside, so check the bag attachments at the thimbles and the clean side of each compartment. Test one compartment at a time if your design allows it.
Cartridge collectors: Look for glowing powder at the cartridge gasket where it seals to the tubesheet, along the pleat seams and end caps, and at any access door seals.
How Often Should You Leak Test a Baghouse?
Many facilities leak test after every bag change-out, after major maintenance, during planned shutdowns, and any time emissions or opacity rise. Testing right after new bags go in confirms they are seated correctly before the collector goes back into full service. Your permit or corporate standards may also set a testing schedule.
After the Test: Prevent the Next Leak
Finding a leak is half the job. Find out why it happened so it does not come back:
- Check cages for burrs, bent wires, or corrosion that wear through the media
- Confirm the bag size and snap band fit your cell plate holes
- Look for abrasion near the inlet and add or repair baffles where needed
- Review pulse pressure and cleaning frequency, since over-cleaning shortens bag life
- Make sure the filter media matches your temperature, moisture, and chemistry
For more on keeping bags in service longer, see our guides to maintaining dust collection bags and troubleshooting common fabric filter problems.
Get the Supplies and Replacement Bags You Need
American Fabric Filter supplies fluorescent leak detection powder in five colors, the Leak Locator Light Kit for inspection, and custom-made replacement filter bags for your collector. Request a quote or call 877-742-3653 to talk with our team.